
Step-by-Step Guide: How to Properly Prepare Your Yard for Sod Installation
SUMMARY
An essential first step in making sure your new grass succeeds is preparing your yard for sod installation. A lush and healthy grass is the result of the sod establishing strong roots in a well-prepared yard. To guarantee that your landscaping job turns out as well as possible, this article takes you through the necessary stages to get your yard ready for sod installation. These procedures will assist guarantee that your sod has all it needs to develop effectively, from debris removal to soil preparation and appropriate watering.
How to Prepare a Yard for Sod Installation
The Installation
Installing sod is an excellent way to create a beautiful lawn quickly. However, before you can lay down the sod, it’s important to prepare your yard properly. The sod roots will be able to take root and develop successfully thanks to this preparation. This is a thorough guide to getting your yard ready for sod installation.
Getting the Space Ready for the Installation of Sod
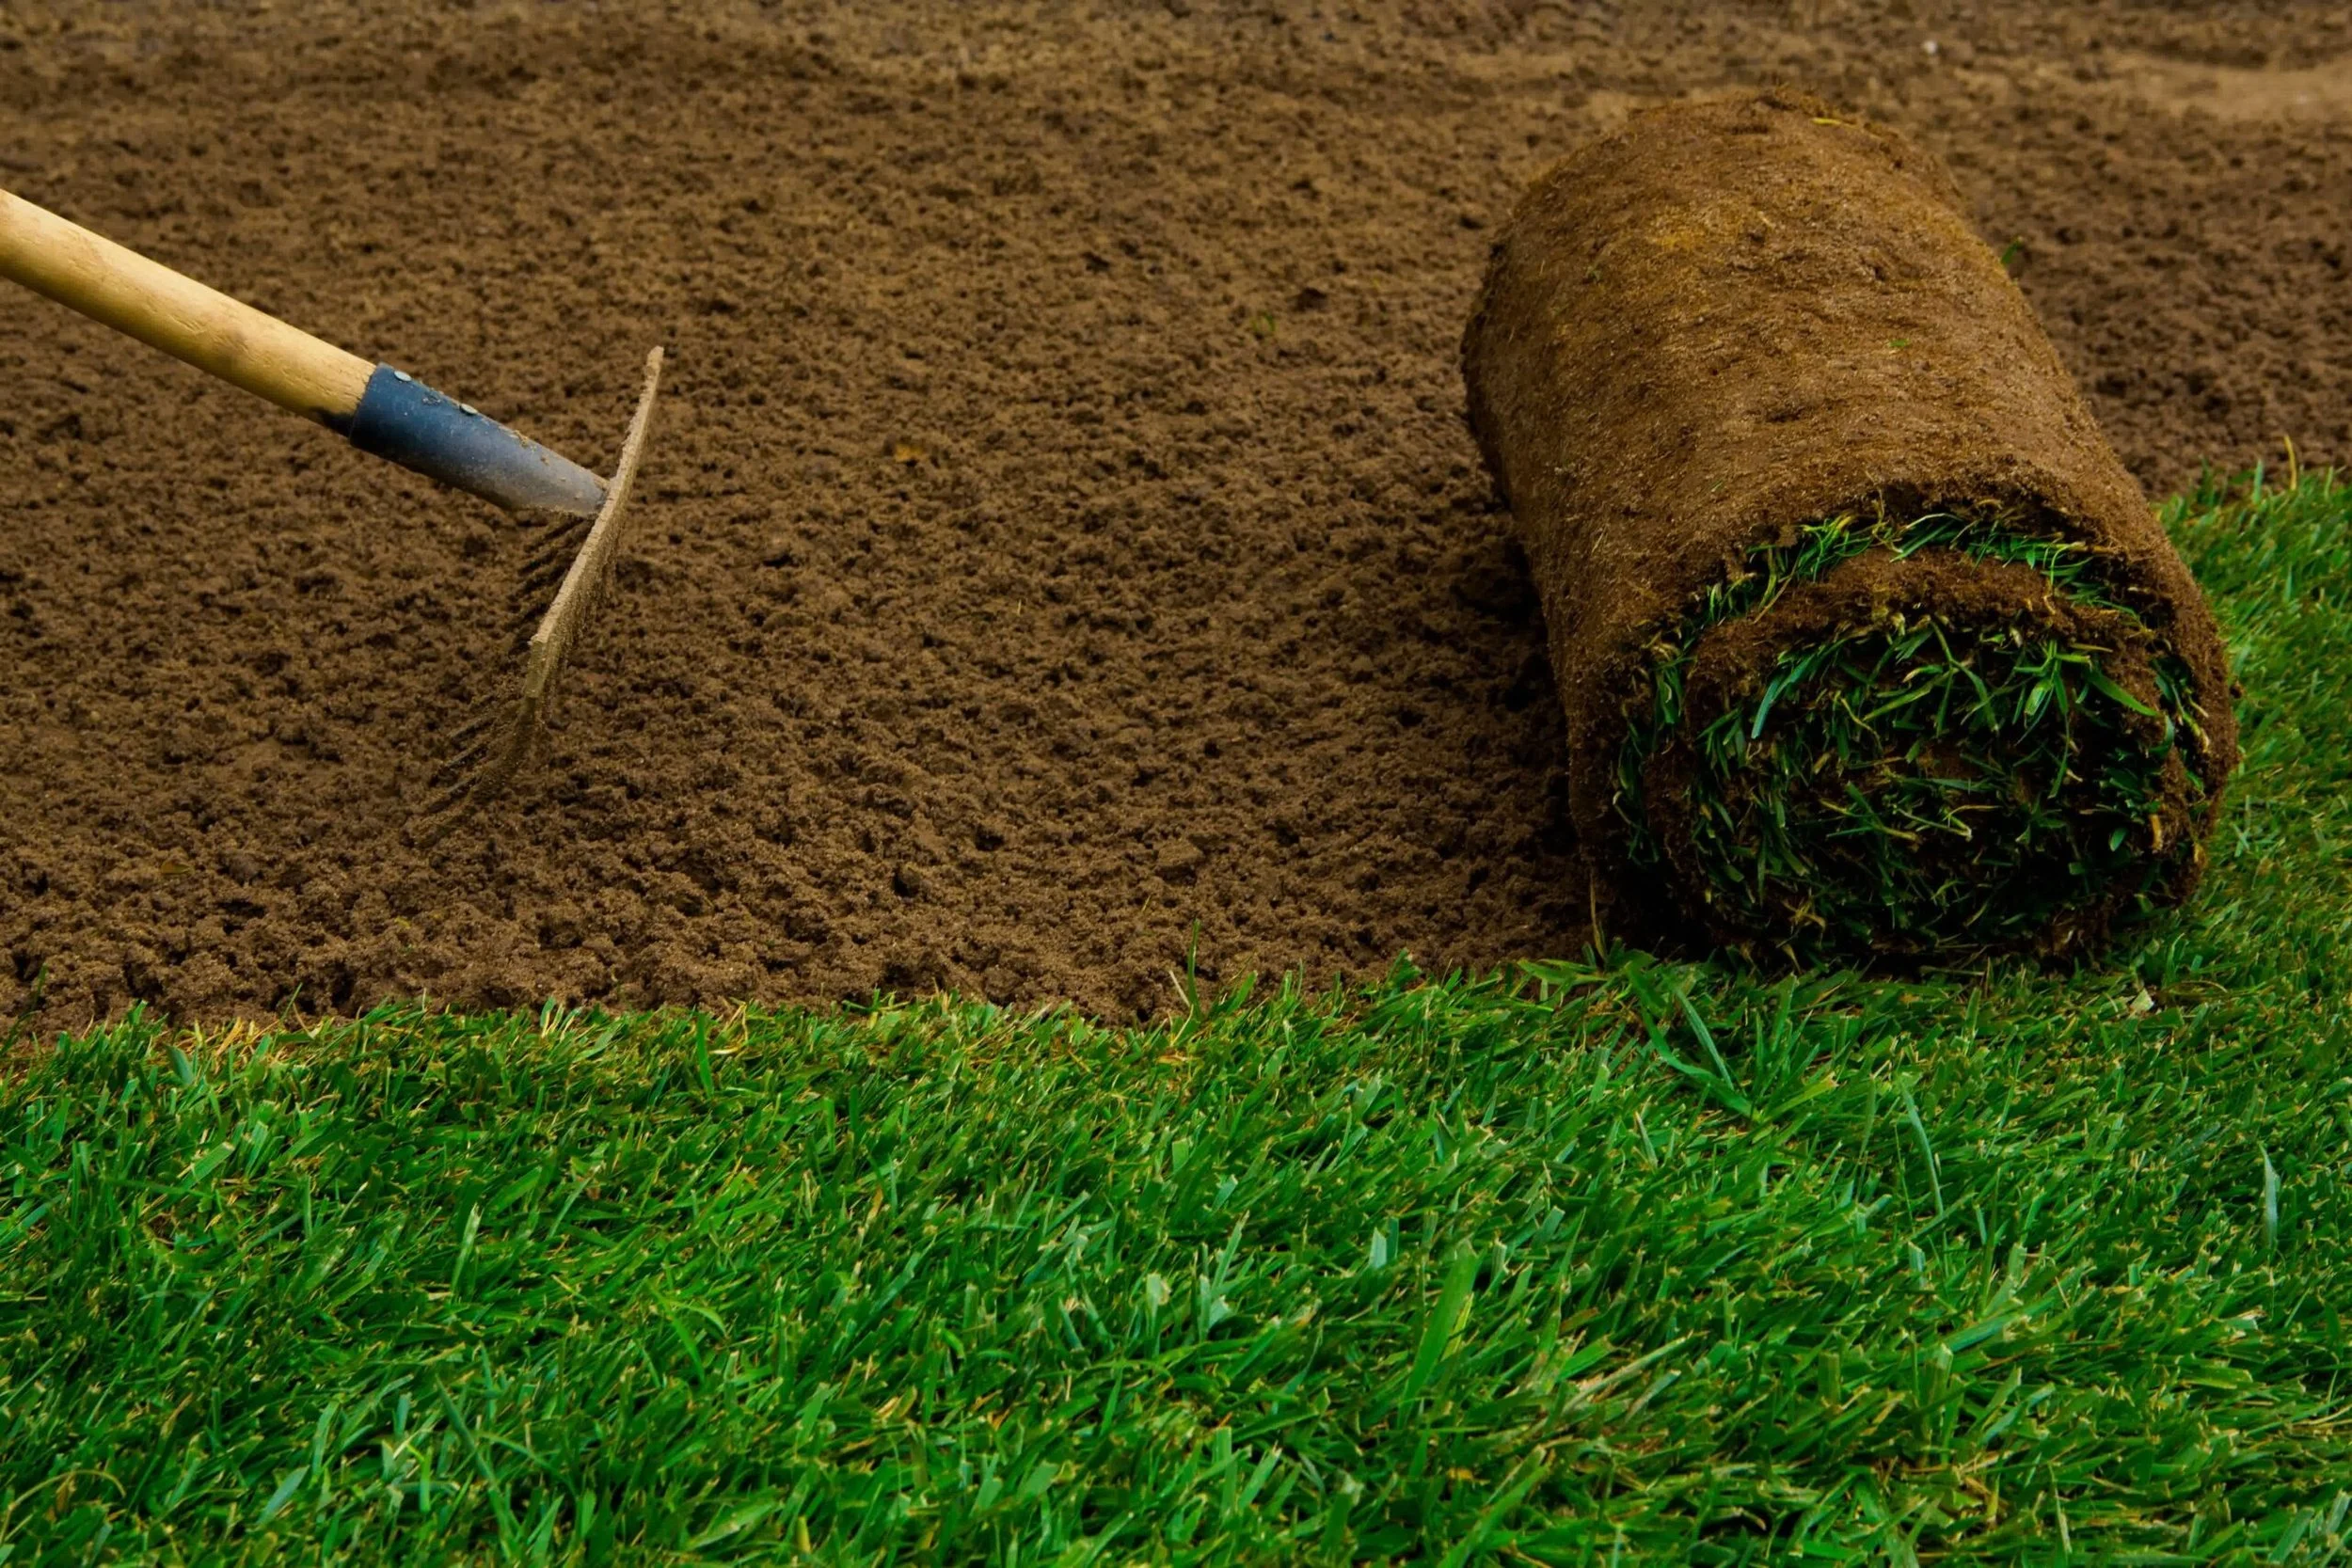
The first and most important step in preparing your yard for sod is clearing the area of any debris, weeds, and old grass. A clean and open area is essential for sod to establish roots. Remove any big stones, sticks, or other debris that could get in the way of the sod laying procedure first. Next, remove any weeds and grass that are already there. If required, you may remove them by hand or with a chemical herbicide; however, if you decide to use a herbicide, be sure to follow the directions carefully to prevent damaging your soil. If you decide to use herbicide, wait a week or two for the soil to recuperate before moving on to the next phase.
Once your yard is free of debris, use a shovel or rake to level the surface. Uneven ground can prevent your sod from settling properly, leading to patches that may not grow as healthily as others. A smooth, level surface allows the sod to make better contact with the soil, encouraging quicker root development.
Soil Preparation for Sod Installation
Testing Your Soil
After clearing the area, the next critical step in preparing your yard for sod is soil preparation. The quality of the soil has a significant impact on the success of your sod installation. The first thing you should do is test your soil. A soil test will help you understand its pH levels and determine if it’s too acidic or alkaline. Ideally, sod grows best in soil with a pH of 6 to 7, which is considered neutral to slightly acidic.
If the soil is too acidic, you may need to add lime to balance the pH. Conversely, if the soil is too alkaline, sulfur can help lower the pH. Along with adjusting the pH, it’s also essential to improve the soil’s structure by adding organic matter. This can be compost, peat moss, or soil conditioners, which improve soil texture and fertility. Spread a thin layer of organic matter over the area and work it into the soil with a rake or garden fork.
Aerating the Soil for Better Root Growth
Another issue that may hinder the root development of your sod is soil compaction. Compacted soil hinders the roots’ ability to penetrate deeply and obtain the necessary nutrients and water. By making tiny pores in the soil, aeration helps to mitigate this problem by improving the penetration of nutrients, water, and air.
To aerate the soil, you can rent an aerator from a local home improvement store or hire a professional to do it for you. The best time to aerate is before you lay sod, so you can ensure the roots have an easier time establishing themselves. Aerating the soil also promotes deeper root growth, making your new lawn more resilient and drought-tolerant.

Proper Irrigation Before Laying Sod
Starting With Irrigation
Once the soil is prepped and the area is ready, it’s time to focus on irrigation. Proper watering is essential not only after sod installation but also before you lay the sod down. The soil should be moist but not soggy before you begin laying your sod. To achieve this, water the soil thoroughly a day or two before installation.
You want the soil to be moist enough that it will encourage the sod to root but not so wet that it becomes waterlogged. If the soil is too dry, the sod will struggle to establish roots, and if it’s too wet, the sod could drown. Properly hydrated soil ensures that your sod will settle in easily and begin establishing strong roots right away.
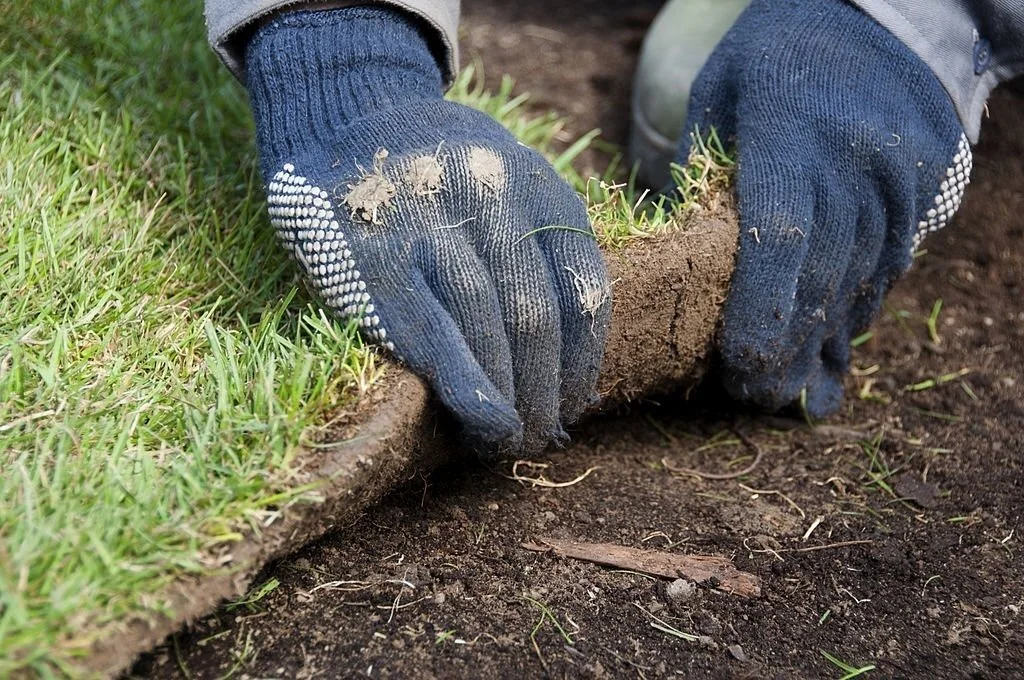
Laying the Sod Finally
Now that your yard is fully prepared, it’s time to lay the sod. Start by laying the sod along a straight edge, such as a driveway, sidewalk, or fence line. Lay the sod in a brick-like pattern, staggering the seams to create a natural look. Avoid leaving gaps between the pieces of sod, as this can cause air pockets that hinder root growth.
After laying each row, press down on the edges of the sod to ensure good contact with the soil beneath. This step is crucial to prevent air from getting trapped between the sod and soil, which can lead to dry patches. Water the sod immediately after installation to help it settle and prevent the edges from drying out.
Conclusion
Preparing your yard for sod installation is a vital process that sets the foundation for a healthy and beautiful lawn. By following the necessary steps—clearing debris, preparing the soil, aerating, and ensuring proper watering—you’ll give your sod the best chance to thrive. Taking the time to properly prepare your yard before installing sod not only improves the aesthetic appeal of your lawn but also ensures it remains lush and green for years to come. Remember that after installation, ongoing care such as proper watering and fertilization will help maintain your lawn’s beauty and health. Southern Love is here to help with landscaping projects, sod installation, driveway remodels, and so much more.